How to Make Safe and Secure Deposits at an ATM
Financial institutions are constantly looking for ways to make all banking services easier and technologically up to date. The neighborhood ATM has not been left out of the tech explosion. More ATMs are capable of handling more transactions, and some even allow you to communicate with a live teller.

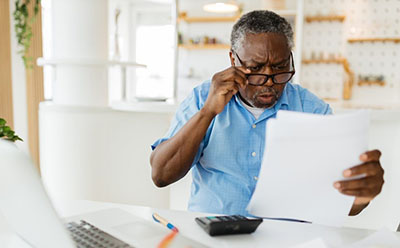
Even if you’re a pro at capturing the image of checks and making a deposit through your smartphone, you won’t be able to do that if you’re walking around with cash. By visiting a deposit-enabled ATM, you can save time during a cash deposit compared to the wait in a teller line inside the branch of your financial institution.
If you are carrying cash, keep in mind some tips to staying safe while using ATMs. If you’ve never made a deposit at an ATM, with cash or checks, here are some steps that work with most deposit-enabled ATMs according to the personal finance advisers at The Balance and NerdWallet:
- Verify that the ATM accepts deposits: Contact your financial institution to see if the ATM locations that are most convenient to you are deposit-enabled. Are they connected to your accounts, and is there a surcharge-free network of ATMs available if you can’t get to an ATM operated by your financial institution? Be ready with your signature on the back of the check if that’s to be included in your deposit.
- Look around to see that the location appears safe. If you don’t feel comfortable, go to another ATM or make the trip inside the branch.
- Insert your debit card and follow the instructions on when to enter your PIN.
- Choose “deposit” when the on-screen options for your transaction appear.
- Choose the account (checking, savings, etc.) where you want your deposit to be made.
- If required, enter the amount of your deposit. This may not be needed at some ATMs that can distinguish the amount of cash or the amount written on the check.
- Insert the cash and/or checks in the fashion the ATM requires. This may include the use of an envelope, but many ATMs can do without an envelope and can handle a stack of dozens of bills.
- Confirm that the deposit amount is correct.
- Get a receipt. Some ATMs make receipts available with the image of the checks printed onto the receipt.
- Confirm that your session is complete. Don’t walk away unless you know your session is finished and that you have your debit card in your possession.
Keep in mind that financial institutions have requirements and policies concerning availability of funds whether you’re making a deposit at the ATM, online with your computer or mobile with your smart device or in the teller line. You’ll want to stay connected to your financial institution to monitor your balance and any deposits you have made.